
Today's tutorial focusses on the use of a basic supply to add wow to your gift wrapping. Gift wrapping comes in many forms and today I am wrapping a present for my newest second cousin, born yesterday, a little fat beauty she is too… so a floral inspired gift wrapping theme was in order. I started by cutting my coral wrapping paper to size, and criss-crossing 3mm and 6mm double sided tape across the front. I have used High Tack tape for durability, but you can also use standard tape for this project:

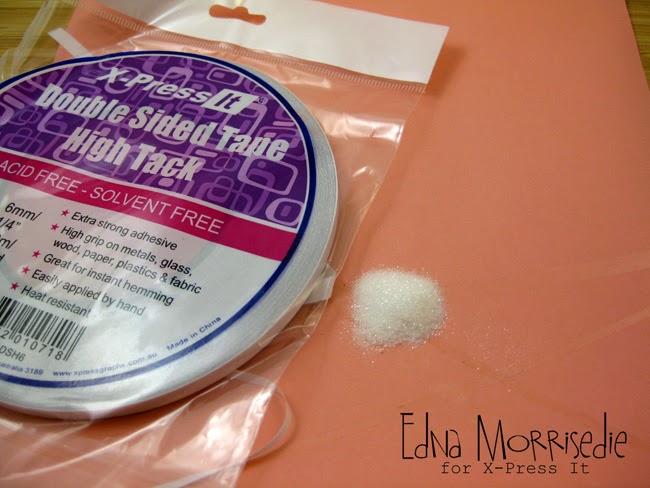
Once the tape is in place, expose the tape and add a little pile of glitter to the centre, rubbing out across the different strips of tape. A good thing to remember with glitter is that the harder you rub the better connection it has with the tape, and the more it will SHINE:
Set the paper aside and work on building some flowers. Today I have used simple white cheesecloth , two 15cm lengths and one 30cm length, but you can make these in any size you like. This little set of pictures shows the method:
Step 1: place a strip of 6mm tape along one edge of fabric:

Step 2: Remove the backing and fold the fabric in half:

Step 3: Run another pice of tape along the rough seam:

Step 4: Remove the backing and pleat the fabric to the outer edge of a circle of card:

Step 5: Continue to pleat the fabric, moving into the inner circle once you have covered the outer circle:

Repeat this for the 3 lengths of fabric to make a trio of flowers.
Next it is time to wrap the present…. square off the wrapping paper so that the criss-cross of glitter strips sits nicely on the front of the package. I used double sided tape on the edges of the wrapping paper to so that there are clean closures, and no visible tape:

Place the flowers across the top of the glitter strips, adding die cut leaves, and loopy bows for extra flair… and don't forget to finish off the flower centres with extra embellishments, I have used buttons this time, that co-ordinate with the wrapping paper… each and every element is adhered with double sided tape:

These little flowers are super quick, allow you to use up strips of basic fabric, and bring it all together with simple double sided tape… paper, fabric and glitter all with one basic, everyone has it, product….got to love that!!

Here are the X-Press It Products I used today:
3mm Double Sided Tape High Tack
6mm Double Sided Tape High Tack

So the next time you have a wrapping project, why not have a go at building 3D embellishments, they come together really easy with your trusty X-Press It Double Sided Tapes!
Pin It


