
Thanks for joining us at the X- Press It Blog for another adhesive loving project.... I used 6mm Double Sided Tape and Clear Gel Glue to transform a recycled box into a nautical flavoured gift box, using FabScraps Papers and Embellishments. Here is what I started with today:

I opted to use a combination of papers on the different elements of the box today, both to see all the different sides of the papers in use, and to provide more interest, this is also a great way to use up half pieces of paper and the like. I didn't clean or prepare the box (which is actually a box from the hospital that the "artificial joints (knees)" arrive in....) these boxes have a fabulous hinge lid, and they really are too good to throw away... here is how I applied the tape and paper to get things started:
Once the box was covered with all the different papers I closed the box to make sure it would take the folded paper on the edges, always good to check this before you progress with embellishing:

Then a very fast and rustic rub of brown ink across all of the seams and parts of the papers, this helps to blend where the papers meet, and bring all the different paper patterns together:

The on to the really fun part, the embellishments, I am a little addicted to colouring FabScraps Chipboard with Copic Markers, which is what I have done here again today.... it's really simple, and instantly dry... I also rubbed the coloured pieces with the same brown ink from above, helping again to blend the colour palette... and you can see a little nautical knot in there too:

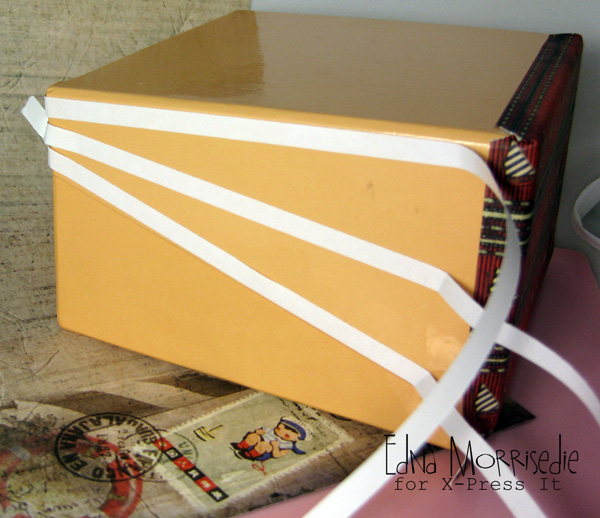
From there it was as simple as applying each of the embellishments with Clear Gel Glue. The pass of twine first, then the sentiment and Captain's Hat:

For the front flap of the box, I have stacked the Steering element with a FabScraps Button, and finished with a Brass FabScraps charm, love these!!!

This box came together really quickly thanks to the instant dry elements of using double sided adhesive tape... you could of course also use TripleTac on such a box, but I wanted instant instant instant today....

Here are the X-Press It products I used in my project today:
- X-Press It Clear Gel Glue
- X-Press It 6mm Double Sided Tape.
Here are the FabScraps products I used in my project today:
- FabScraps Papers: Summer Lighthouse, Summer Nets
- FabScraps Gone Sailing Word
- FabScraps Captain Hat & Steering
- FabScraps Brass Embellishment (Anchor) and Button
Thanks so much for visiting the X- Press It Blog today, I hope you have enjoyed seeing the papers and embellishments change a recycled box into a fancy packaging!
Pin It

