Hello X-Press It Fans, it's time for another tutorial and this week we are celebrating everything sticky... and the wonderful adhesive qualities of X-Press It Tripletac Glue and Double-Sided Adhesives. They are used globally for adhering paper to all of our layouts, cards and projects but have so many other great uses... today I provide you with a set of 3 little glass jars, all ready to colour co-ordinate with my extensive button collection... here is what I started with today:
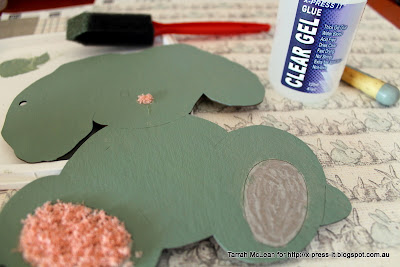
I wanted to colour co-ordinate the lids to my buttons, but keep the details on the actual glass jars subtle, as I like to be able to see through to what is inside, so opted for flocked lids and clear glittered jars. Flock is a mystery to many but really a fun medium... the real trick of the trade is to use an adhesive that has a thorough coverage but is still pliable for a little while after application, which is Tripletac to a T... this picture shows the flock as a first coat, persist with this textile, you do need multiple coats to get a finish with good coverage, just keep adding the TripleTac to the dried layers... eventually you will finish with a good coverage of "fluff"!
Then it was time to move on to the 3 glass jars, I thought it would be good to have a little variety, so opted for a criss-cross design on one, a ring design on another, and then a bottom section on the third. In this picture you can see where I have used Double-Sided Tape on two of the jars (ring and criss-cross) and then a ring of masking tape (I used washi tape) a third of the way up the last jar.
The washi tape was used as a mask for the jar below... simply apply a good even coverage of Tripletac to the jar, overlapping the tape, sprinkle with a mountain of glitter and roll the jar to have the glitter travel across the glue and adhere to the jar....from there it is a simple case of pulling off the washi tape to reveal a perfect finished line to the glitter bottom on the jar, set aside to dry for 10 minutes or so...
Then it was onto the taped lines... with the ring design, I used three different sizes of double-sided tape 12mm, 6mm and 3mm. Pull off backing from all three strips of adhesive at the one time and sprinkle over the glitter, once again rolling the jar to obtain coverage. Make sure there is good coverage and that you rub the glitter into the tape. Test that you have full coverage by running your finger around each of the rings, you shouldn't feel any stickiness along the way, if you do, simply add more glitter and rub in with force...
The most important thing to remember when securing glitter with double-sided tape is that to "earn real shine" you need to "buff the glitter", this means that you need to dust off the excess glitter and with the full pad of a finger tip rub the glitter into the tape, the more you rub the shinier the glitter will shine, this is because the particles make full contact with the tape, they adhere well and it also rids the line of tape of any excess glitter, allowing what is left to gain full light reflection, a subtle effect with this clear like glitter, more dramatic with a coloured glitter... try it, it will make you smile!!
With the criss-cross design, you will notice in the first picture that I had only applied tape in one direction, it is important to add the glitter over all the tape that you apply to the jar at the one time, this way you will minimise the "bumps" where the tapes cross over... pull off the backing from the first set of tapes, and then apply a new set of tapes in the opposite direction before adding any glitter. Once again I have used the 3 sizes of tapes, two of each size in each direction, but you can mix this up to your liking...
Try your adhesives on all sorts of surfaces, there is plenty of variety across the X-Press It range, something for every surface... try all sorts of glass, put the glitter on the inside or the outside, full or partial coverage... looks great on vases, and very special on the outside of votive candle holders, especially when the candle light shines on through... for me though I am very happy with my co-ordinated button jars!
Here is what I used in my project today:
X-Press It Tripletac Glue
X-Press It Double-Sided Tape 3mm
X-Press It Double-Sided Tape 6mm
X-Press It Double-Sided Tape 12mm
Glass Jars with screw top lids (the ones pickles come in)
Ultra-fine clear glitter
Flocking Powder
I hope you enjoyed this tutorial and try out this technique in your own creative space, enjoy!
Pin It


