Hi everyone!!
It's Tarrah here with you today to share a cool project that I have been working on using some of the awesome X-Press It products including the fabulous Mask It! I created a canvas and used some different coloured mists with the Mask It.
It's Tarrah here with you today to share a cool project that I have been working on using some of the awesome X-Press It products including the fabulous Mask It! I created a canvas and used some different coloured mists with the Mask It.
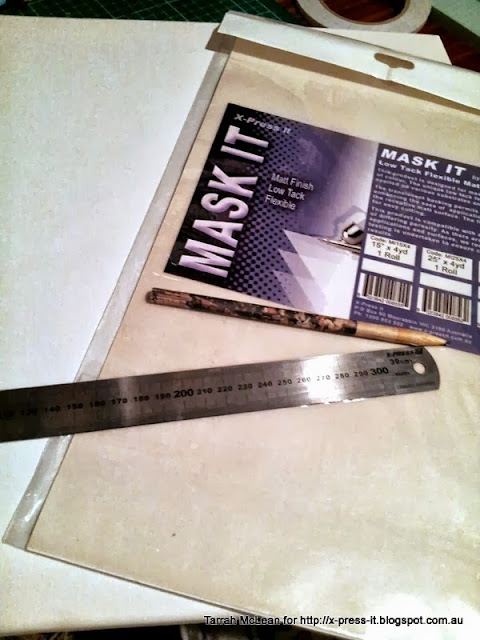
What I love about the Mask It is that it has markings already on
the backing sheet to cut to your desired size, in my case I cut long strips of it.
I measured the exact width of the Mask It to allow for the space in between each piece and then adhered the next and so on...I then used the mists in a few different colours to achieve this look...
I then started to embellish my newly masked canvas by using my favourite glue, the X-Press It Clear Gel Glue and the fabulous FabScraps Heritage Fleur Frame..
I cut the Fleur Frame in half and also cut the Fleur De Lis Off each end of the frame...
I adhered the Fleur Frame with the Clear Gel Glue and I adhered the
paper doily with the X-Press It High Tack Tape
I also adhered the photo and the printable down with the High Tack Tape also..
FabScraps Jewel Embellishments to finish off my Mask It canvas
A bit of the close up detail....
Thanks so much for joining me on the X-Press It blog today, happy creating..
Tarrah x


I LOVE your rows of diagonal colour, just delicious, what a great way to use this fantastic product, super cool T!!
ReplyDeleteLove what you have created here. The effect is quite awesome.
ReplyDelete