
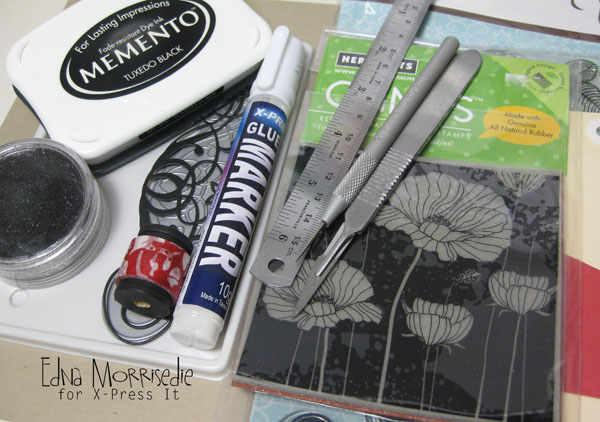
I wanted to add glitter by way of scroll and flourish like embellishments and to add texture with some paper scraps, here is what I started with:
I die cut fine embellishments from black card and added very fine, sparkling black glitter to them, which was really easy thanks to the Glue Marker. It is as simple as drawing the glue across the face of the die cut, you get a much denser application of glitter if you allow the Glue Marker to sit as you apply it to the card, which will result in a slight pool of glue for the glitter to adhere to...

After stamping a double series of each of the two flowers from this reverse image, I chose two pieces of each flower to pop up, the popped layers are achieved with a combination of tiny pieces of Foam Mounting Tape (at the top of the petals) and a fine application of the Glue Marker (at the base of the petals)... the Glue Marker was fabulous for this, instant flat bond!!!

To add dimension to the centre of each flower and to tie in with the red elements across the card, I took a piece of scrap card and made it into tiny pieces of confetti, pooling the ink on top of the centre detail in each of the stamped flowers and then piling the confetti atop the glue, wait a couple of seconds and shake off the excess and you will have added a little more dimension to these flowers.

Once the sparkle is added to the flourishes and the flowers have been built it was a simple case of putting the tag together... I used the Glue Maker to attached the paper to the tag base, and to add each of the embellishments, it is super fabby on the fine details of the flourishes, a quick dab in a few strategic places and the glittering delights are all in place.

I hope you enjoyed this tutorial for the Glue Marker, it is a must for your tool kit, and has fast become my crafty friend!! Here is a detail shot of the glitter, flower dimension and confetti...

...until next time, enjoy!!
Pin It
What a great idea Edna!! Love your card too, beautiful :)
ReplyDeleteJust beautiful Edna.
ReplyDelete