

I added a damask design to the front of a two drawer storage unit, this is one of the flat pack ply drawers from IKEA, mine was already assembled, if you are doing this from scratch it will be a lot easier to apply the design before assembly, I have worked around that today thanks to the flexibility of Mask It.
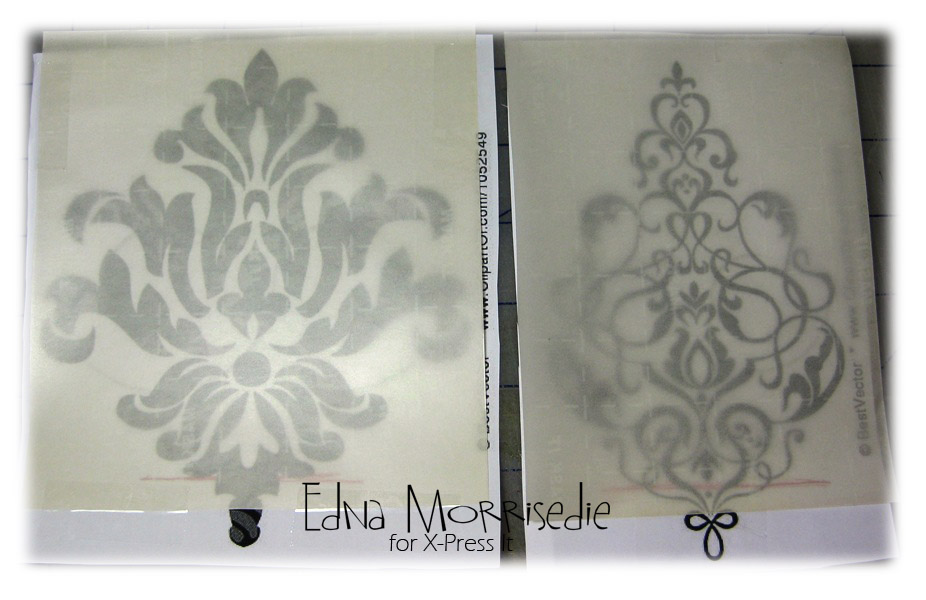
Building a mask is as easy as choosing an image, this could be an extension of an existing stamped image, something you draw up yourself, or do what I did and search for images in the style you are looking for. I simply Googled “Damask” to choose my design today, and found two damask designs that fit inside one another. I used the entire broader image and a selection of the finer image.
I stuck the Mask It to my design with sticky tape to keep it in place for the cutting stage. This is the most time intensive phase of masking, however, is well worth the effort as you will have the mask ready for multiple uses.


When it comes to applying your mask don’t worry too much about exact placement the first time, one of the great features of Mask It is its low-tack adhesive, it moves around easily and sticks when you need it to. If you plan on repeating your design on elements that need to align, like side by side drawers, it is best to establish a marker. In this case the peak of the damask sits just below the centre drawer pull notch.

I used a stipple brush and a dry coating of red paint for the base design, I find multiple light layers of paint best for this type of design. If your paint is too wet you won’t get an even application, just dry off your brush on scrap paper in between applications….

After applying the red paint, I left the mask in place and covered the red design with stamped text. I used an acrylic stamp for this, with cream paint, you can also use permanent ink. I wanted the text to be a little rustic, so I rubbed off some of the cream paint with a paper towel before pressing the stamp across the design.

Once happy with the double application of paint, I removed this mask and applied the finer detail damask mask.

Using the same method I then applied the pink paint to the drawer front.

Simply repeat the steps on the other drawer and your design is finished.

Save your masks for future use… I am going to try airbrushing with mine next! That will be right after I cut out a die cut frame and build a shadow for a detailed die cut on a card... endless uses...
We have a prize again this month... Show some love for your chance to win a pack of X-Press It Double Sided Adhesive Sheets--our feature product for next month!
We will randomly choose one commenter from this month's posts to win this fabby prize!
Oh wow! this is gorgeous! and very clever. I have never used a mask before but you have inspired me to give it a go ... maybe not as elaborate as this for my first one though :)
ReplyDeleteWhat a fantastic product!! Can't wait to get my hands on some and give it a go.
xoxoxo Carly
WOW lots of work but it's well worth it in the end. Very nice. I can see where air brushing will give it a different look too. Cant wait to see that one done. I will have to try this technique. I do hate having the little ridge that comes from other masking techniques so this would be nice. Thanks for sharing.
ReplyDeleteWOW Edna, lots of work but well worth it, thanks for the tutorial, take careX:)
ReplyDeletewhat a wonderful technique by an amazing product. Can not wait to try this, the possiblities are endless.
ReplyDeleteWhat an amazing product! Love the fact that you can reuse the masks once you've created them. I have seen these at my local craft shop but haven't tried them yet....sooo looking forward to checking that out. Thanks for the fabulous tutorial.
ReplyDeleteCheers,
Kasey ~ in Oz